
Upgrading the rear interior light is one of the most rewarding and straightforward DIY projects to enhance the cabin of your new Toyota RAV4 Gen6. Say goodbye to dim, outdated factory halogen bulbs. By installing a custom-fit, high-brightness HYUGA LED board, you not only make finding items in the dark effortless but also instantly elevate the modern, tech-forward vibe of your RAV4's interior.
Let's walk through this simple, plug-and-play installation process!
Removing the Factory Assembly
Begin by grabbing a plastic trim removal tool. Carefully pry along the edges of the original dome light housing to gently release the entire assembly from the headliner. Once the housing is slightly detached, look at the back to locate the white factory power connector. Simply press the release tab and push the connector out to completely disconnect and remove the factory light unit.
Positioning the New LED Board
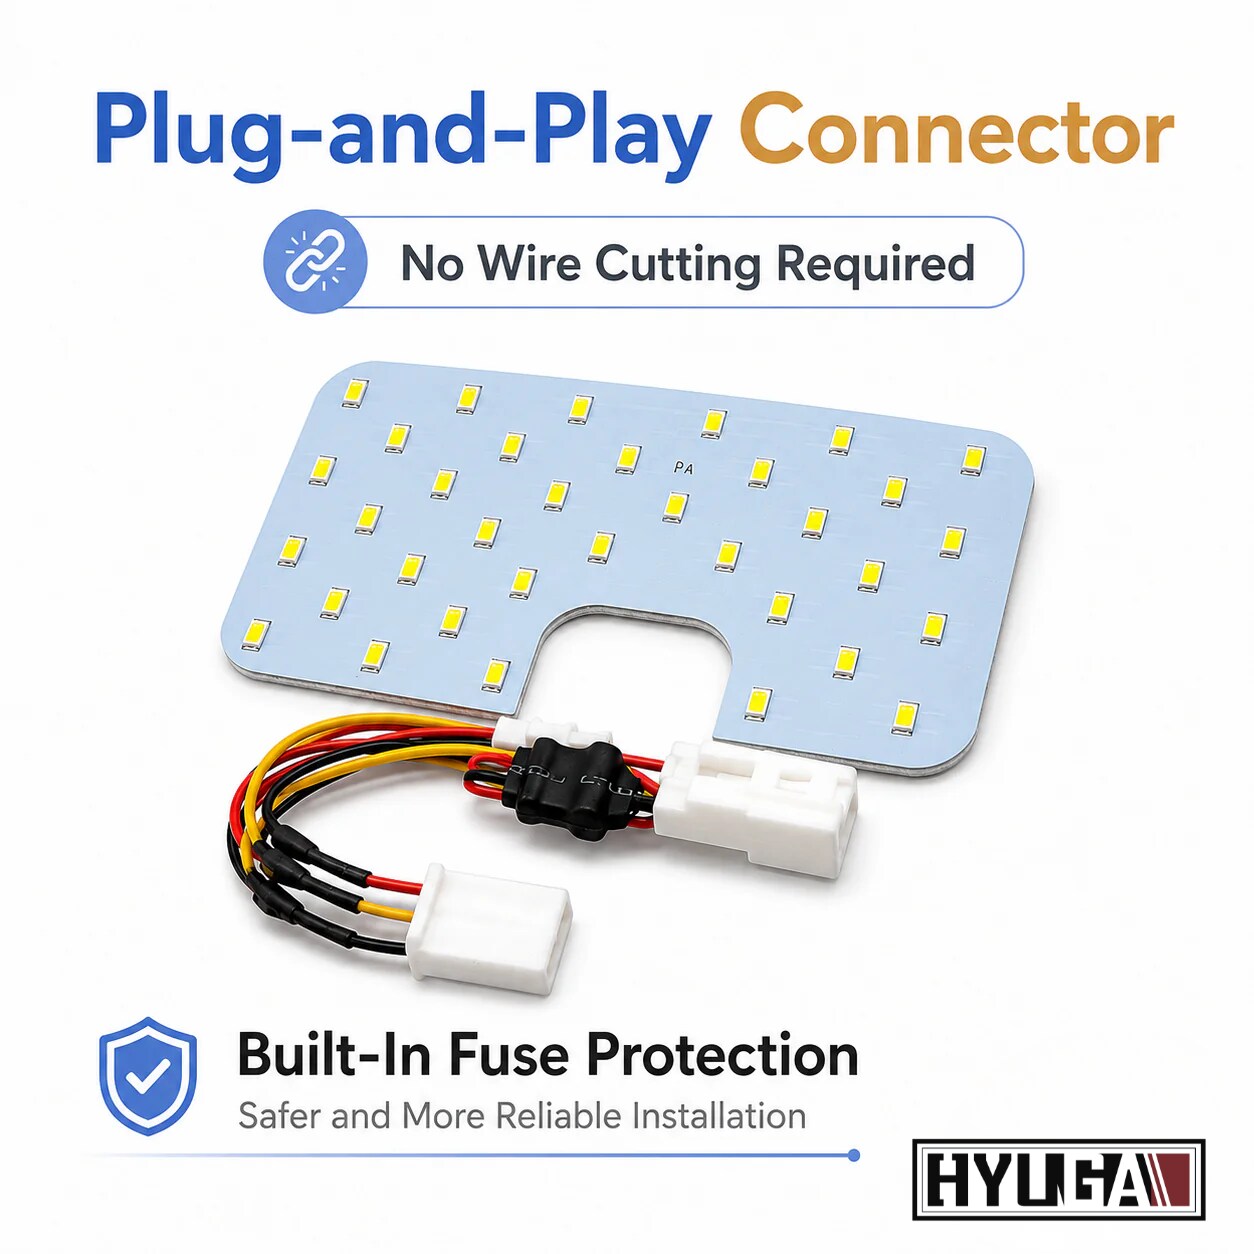
Next, take your new LED board. Route its wiring through the designated wire hole in the housing, making sure the board is oriented in the correct direction. Snap the new interior LED board securely back into the factory housing. Once the board is seated properly, get the new connector plug ready for wiring.
Connecting and Reassembling
Now, align the male and female ends to connect the LED board's plug with the vehicle's factory wiring harness. Once confirmed, organize and tuck the wires away to prevent any pinching. Finally, reinstall the entire interior light assembly back into its original position in the headliner, press the cover firmly into place, and your installation is complete!
In just a few minutes, you'll enjoy a brilliantly lit and evenly illuminated cabin. With this non-destructive, direct-fit design, you won't have to splice any wires, keeping your new RAV4 in pristine condition.