
In the last tutorial, we gave the instruction of the LED turn signal installation on RAV4.
To obtain the complete RAV4 LED replacement, we are now tutoring in
To obtain the complete RAV4 LED replacement, we are now tutoring in
the installation of interior LED bulbs on RAV4
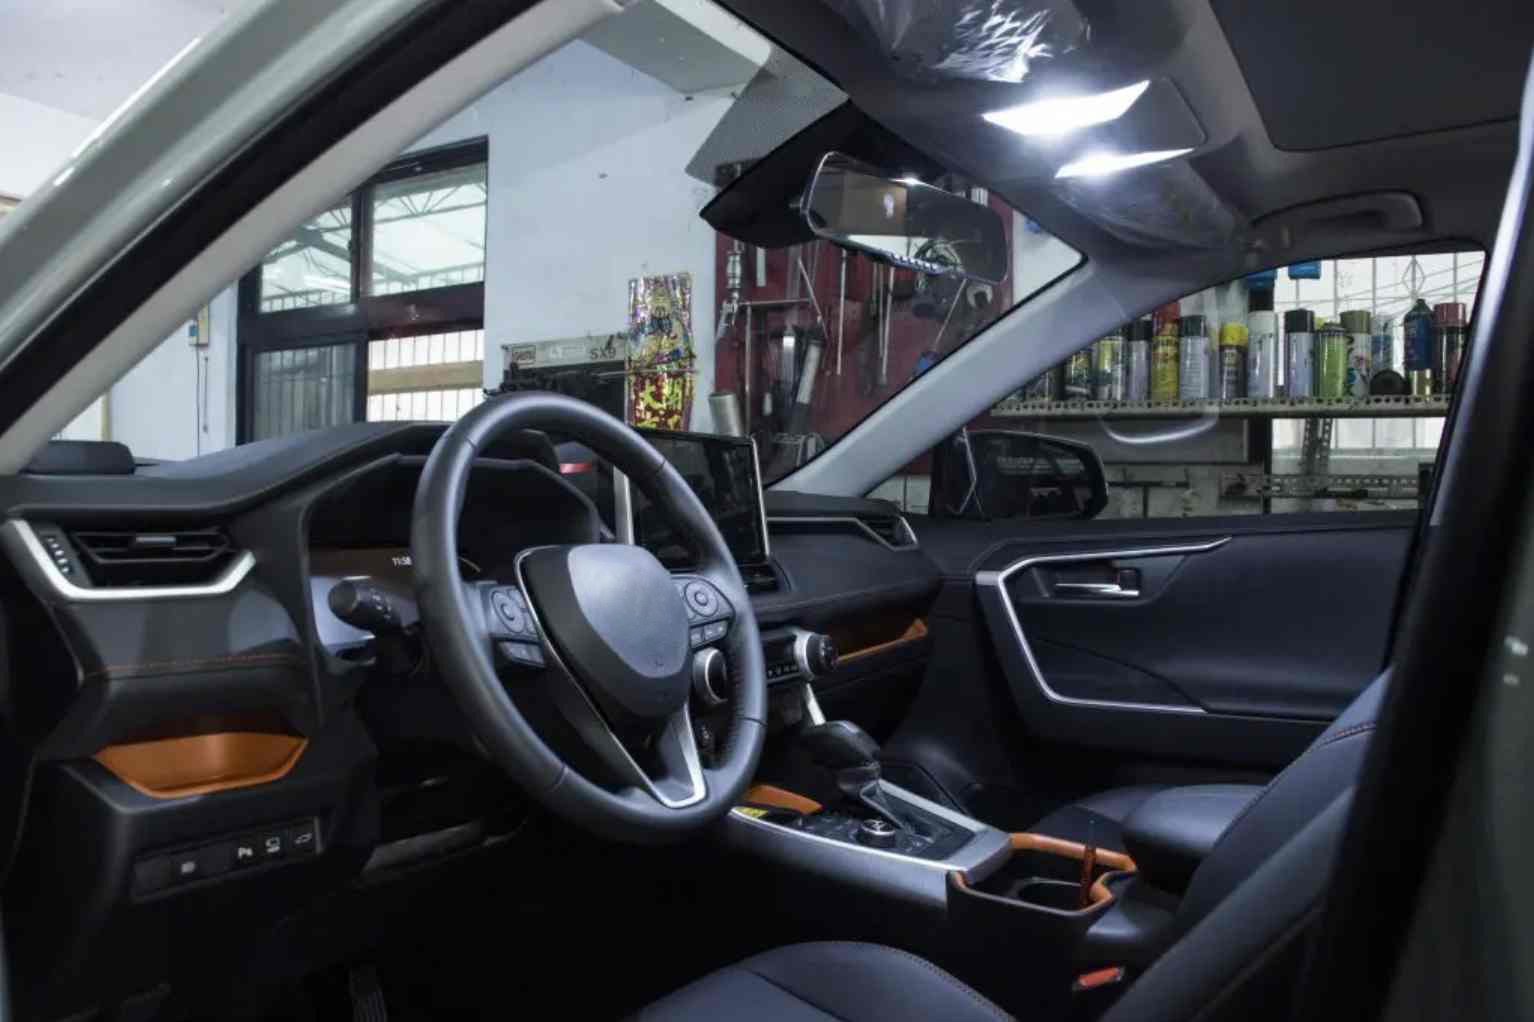
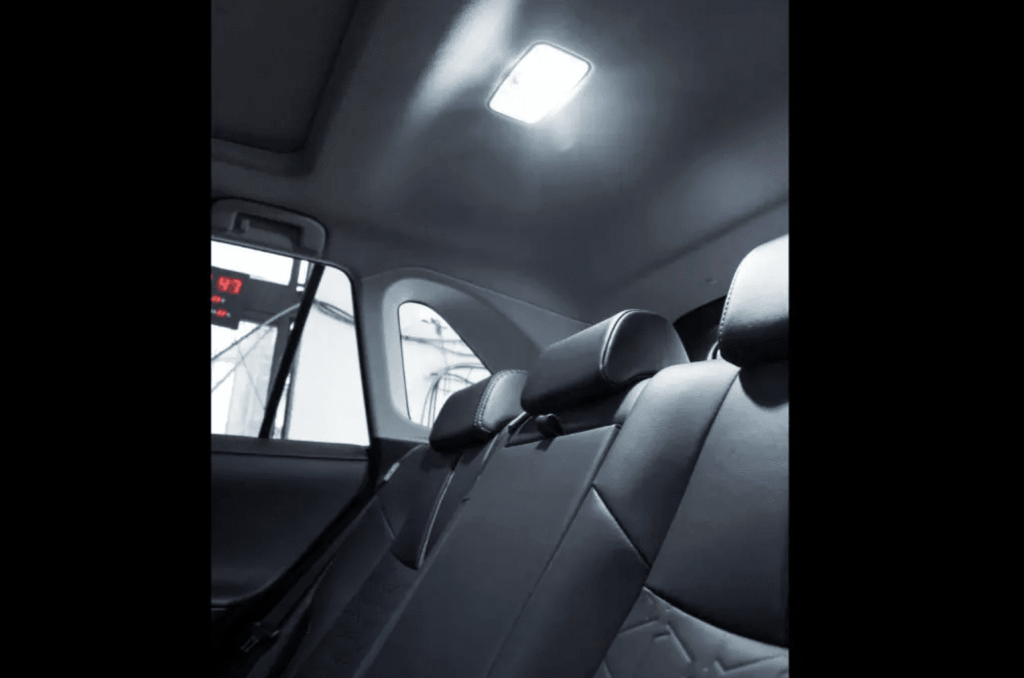
▲ The LED interior lights on of RAV4 look stunning.
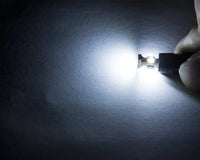
For brightness aficionados, the original interior bulb on RAV4 is not bright as dreamed. Today, we are about to update it with HYUGA “Super-Bright” LED turn signal bulbs.
LED 9 SMD 5050 Bendable Automotive Light Bulb T10 for Interior, Reading, Map, License Plate Light (Click to know more)
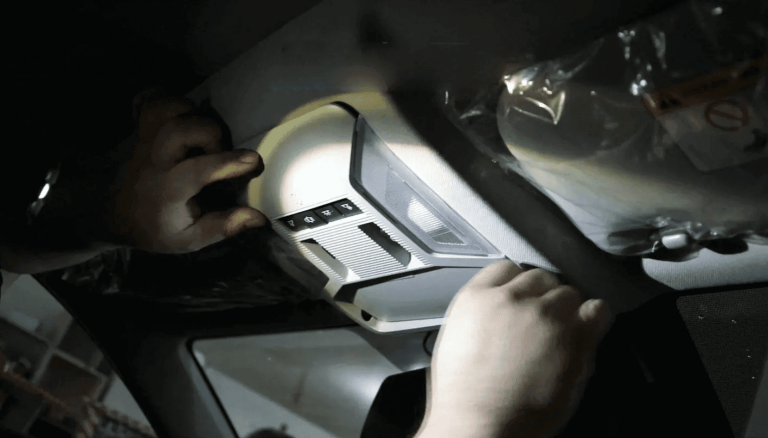
Front Interior Light Replacement
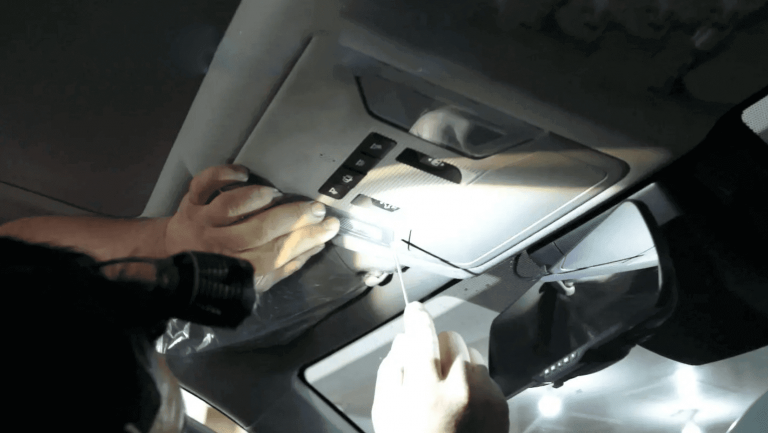
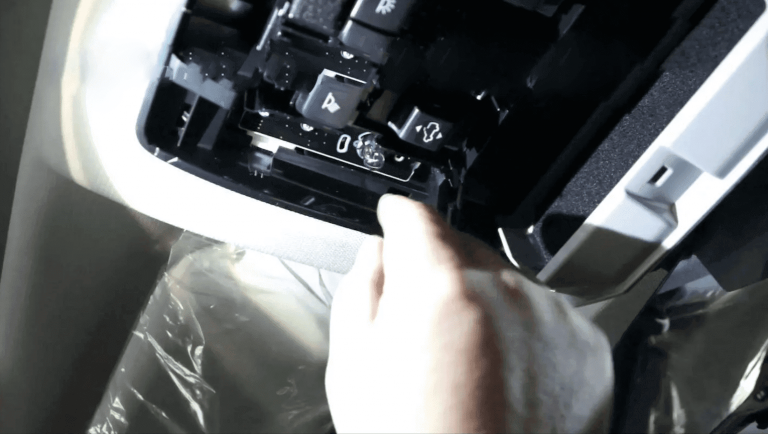
Step 1: Plastic Cover Removal
Open the light plastic cover.
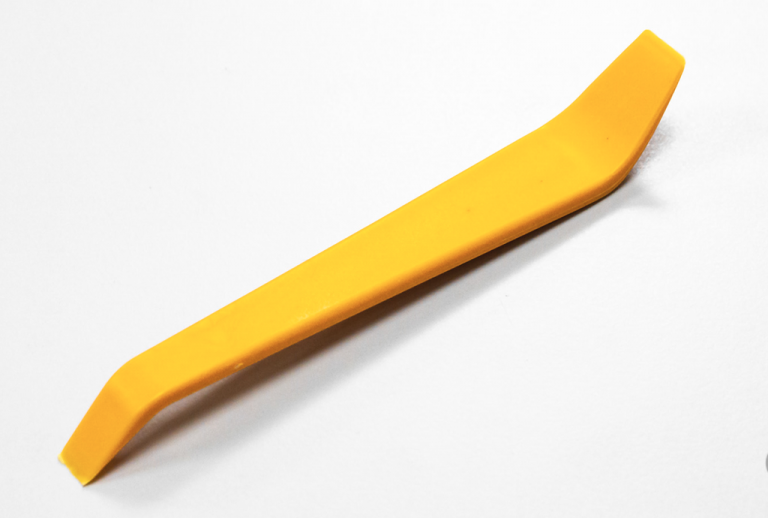
* If it is difficult to open it, you might need a piece of wrench that takes easier.
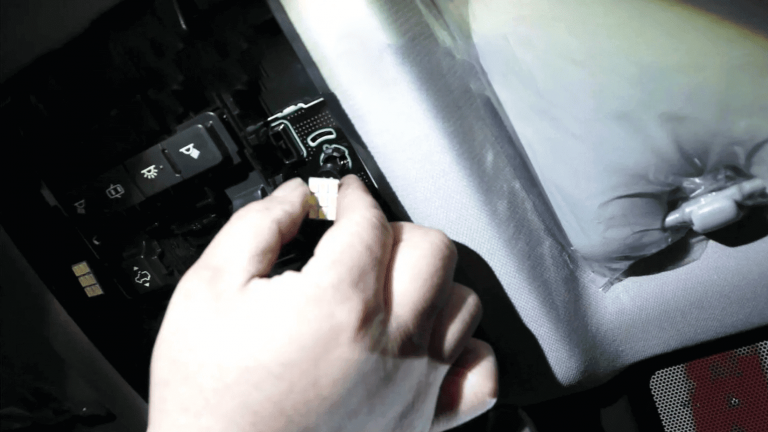
Step 2: Unplug the Original Halogen T10 Bulb
Mind that the base type in the front interior light is T10! Also, please be careful of the temperature after the original bulb just lighted up.
Step 3: Plug in the LED Bulb
The LED bulb we use for replacement is bendable. We recommend this because it is much more flexible for all kinds of car models.
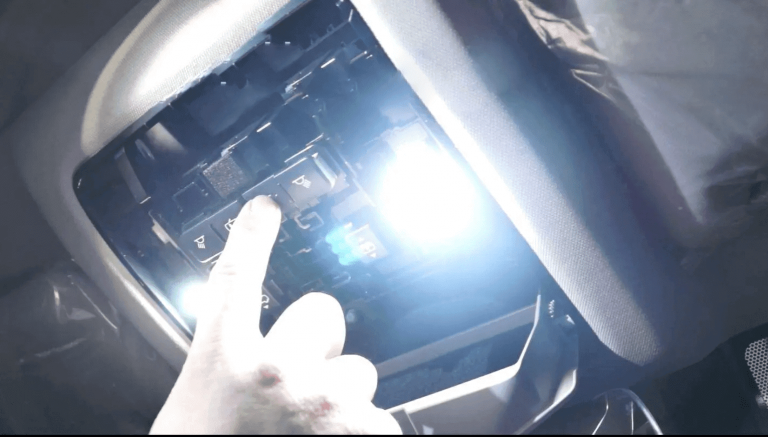
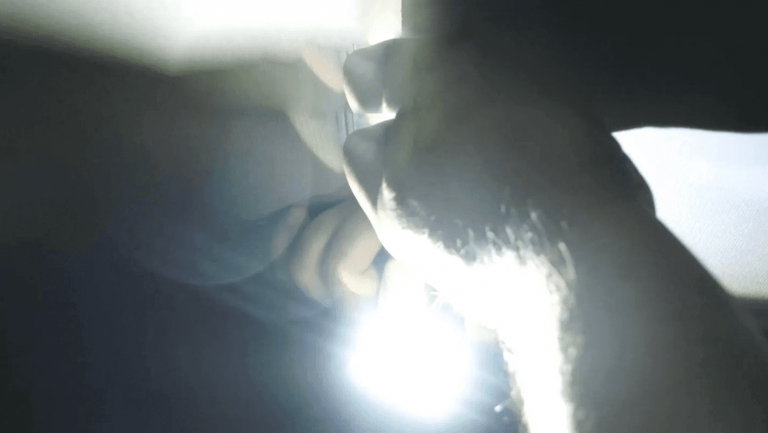
Step 4: Test on the LED Bulb
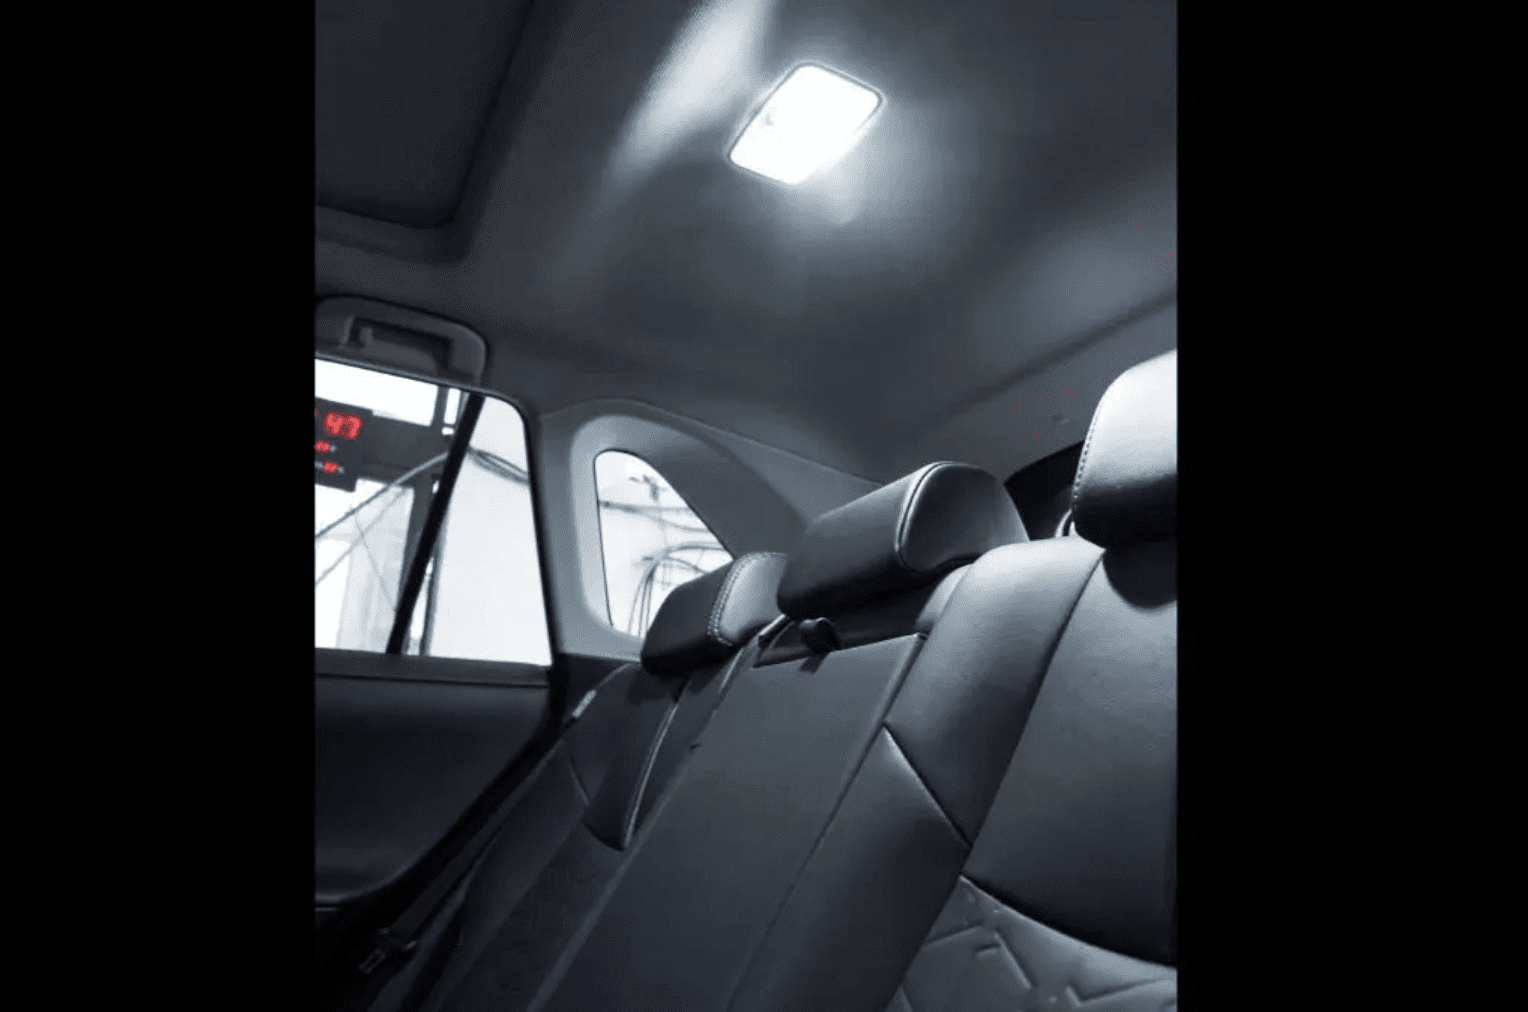
The replacement LED bulb we use is so much brighter than the original bulb. 😍 That is all why we replaced the originals!
※ Be aware of the polarity of the bulb. If the LED bulb doesn’t light up, turn to another position to plug in.
Step 5: Reinstall the Cover Back
Rear Dome Light Replacement
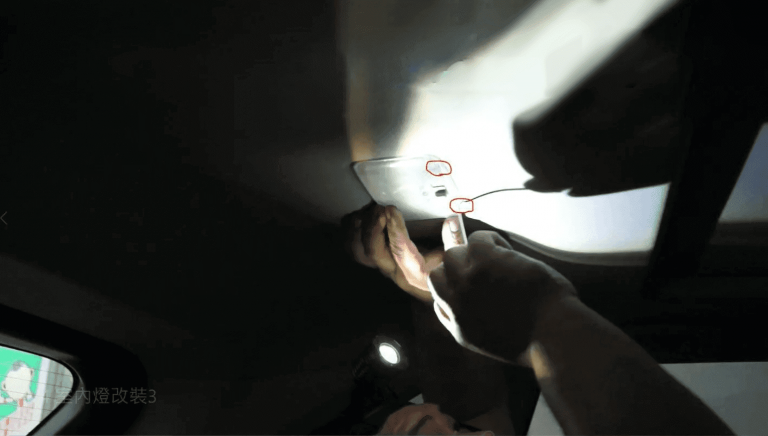
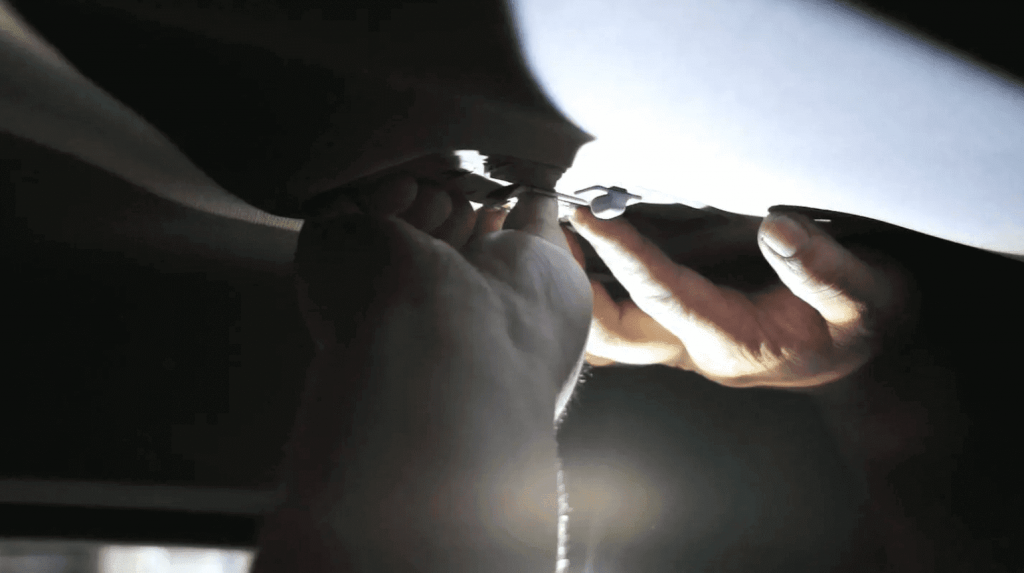
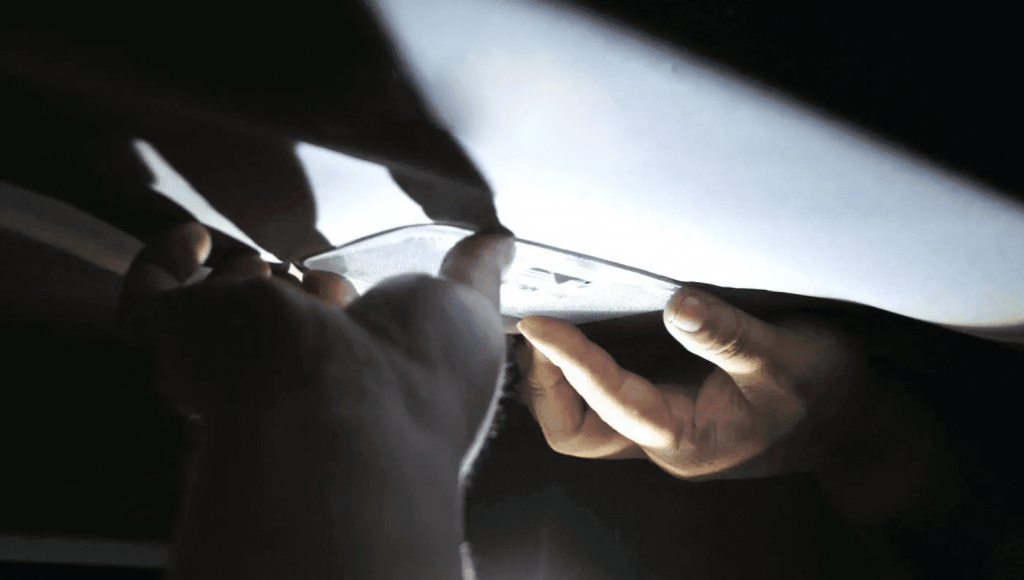
Step 1: Plastic Cover Removal
Open the light plastic cover
* If it is difficult to open it, you might need a piece of wrench that takes easier. Lease the parts circled in red, and then remove it gently.
* If it is difficult to open it, you might need a piece of wrench that takes easier. Lease the parts circled in red, and then remove it gently.
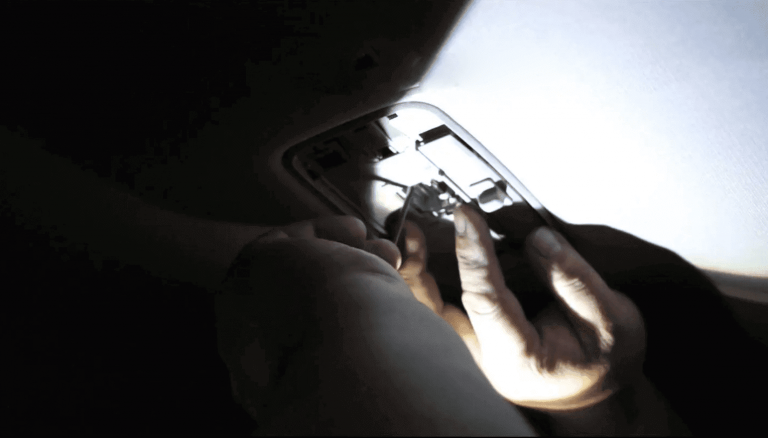
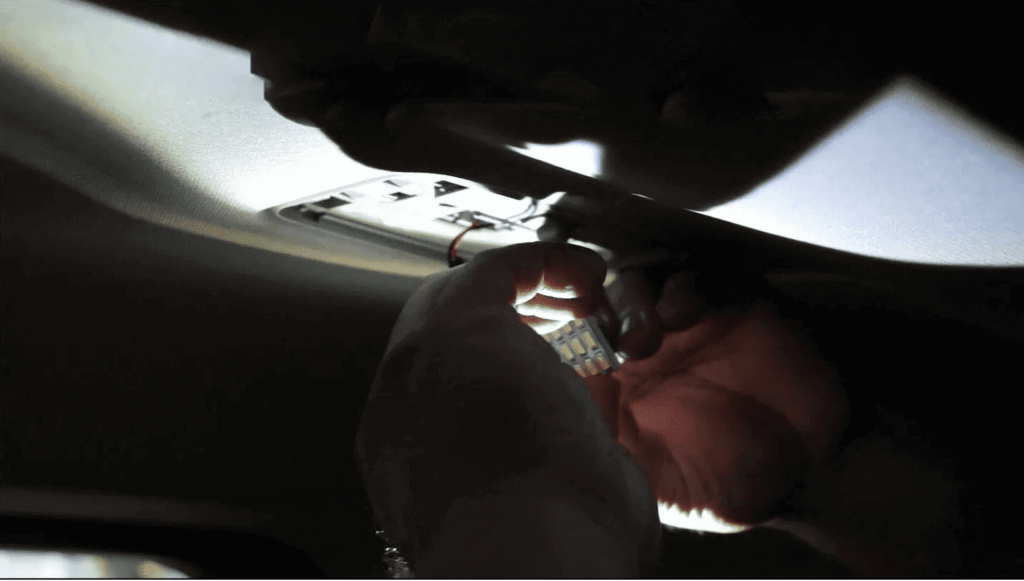
Step 2: Unplug the Original Light Bulb
The basement of the rear dome light is “festoon type, 31mm“. The light bulb we use is the board-shape, with 24 qty of LED chips on it.
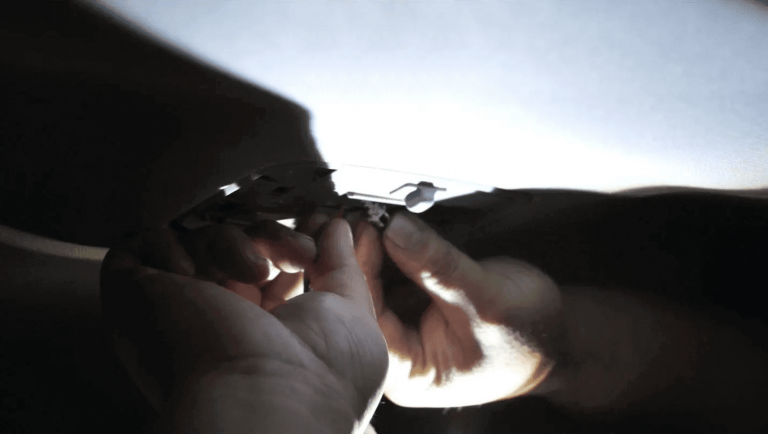
Step 3: Plug in the LED Light Board
The light base is bar-like— put it into the connection room!
Step 3: Test on the Light Board
Test on when it turns on, and be amazed by how bright the LED is! 😍
※ Please also be aware of the base polarity!
Step 4: Stick It to the Wall
The LED light board is generally pack with 3M sticker on the back side. Pull off the protector and stick the light bulb to the wall —making it firm and still.
Step 5: Reinstall the Cover Back
WE ALSO OFFER: (CLICK THE PIC TO KNOW MORE)

All right, you are all done with the LED replacement for the whole interior! It is so easy and fast – please don’t forget to follow our Instructables! Thank you for reading. 🤙